Get updates delivered to you daily. Free and customizable.
Alameda Post
Tips for Starting Your Fall and Winter Vegetable Gardens
By Margie Siegal,
21 days ago
User-posted content
It’s the middle of July, and I am starting to plan Thanksgiving dinner.
That might seem somewhat excessive, but if you are going to grow the food you serve on a specific occasion, planning that far ahead is essential. I have read that Amish weddings take several months to plan, not because they involve a special destination or custom-made tuxedos, but because Amish celebration food requires celery, and the celery has to be grown from seed.
Photo Margie Siegal.
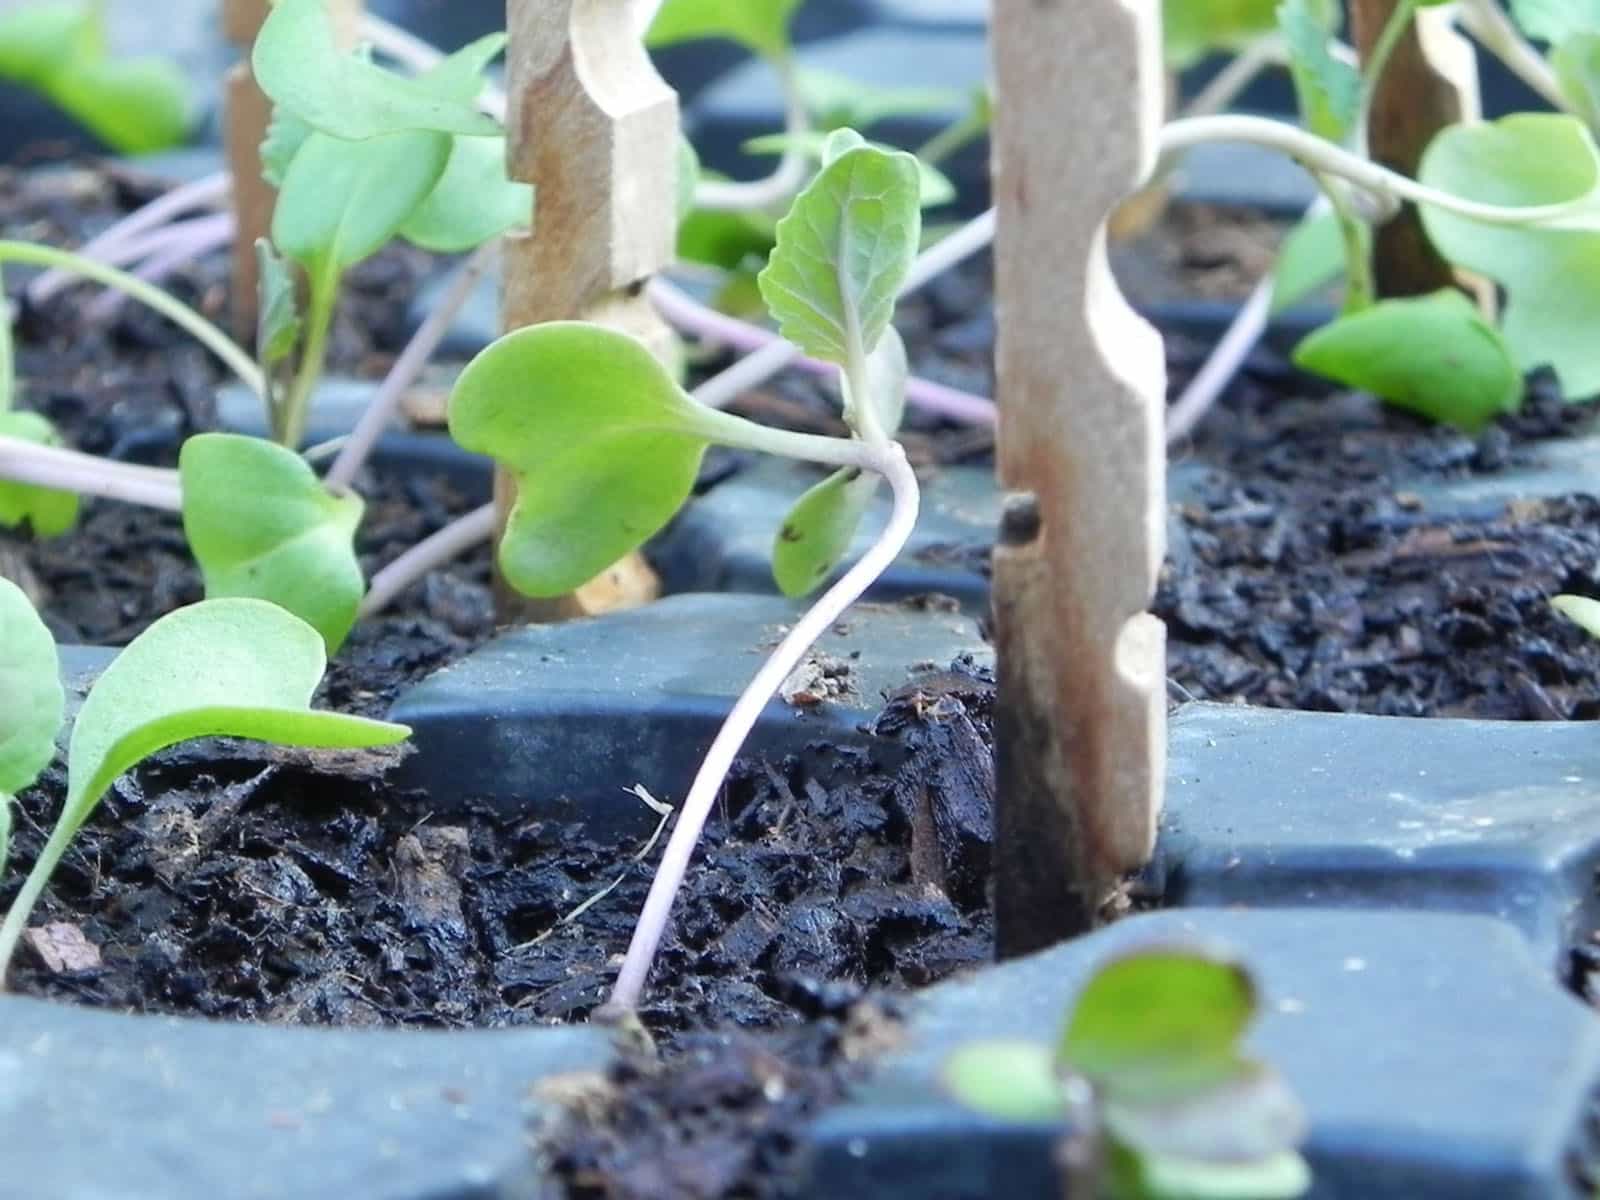
If I want to serve my homegrown Brussels sprouts, the sprouts have to be ready to go under the broiler on November 28. Depending on the variety, Brussels sprouts take between 125 and 155 days to grow—that’s four to five months. I got the seeds started just in time. The little starters are a couple of inches high at the moment, and will probably go into the ground in a couple of weeks—around the beginning of August—along with a good handful of worm castings and a couple of tablespoons of organic fertilizer. I want my starters to get off on the right foot and grow fast.
Alameda’s climate allows edible plants to survive year-round, but the plants will stop growing when daylight drops below 10 hours a day. In our latitude, this means the middle of November. Plants must be well-established before then, so they will survive cold, dark, and rain and start growing again in early spring.
The veggies that can best deal with Alameda winters are those developed in Northern Europe—broccoli, cauliflower, cabbage, kale, Brussels sprouts, carrots, mustard greens, beets, and Swiss chard. Fava bean plants can be started in the fall and get a head start on producing their delicious beans in spring. Lettuce does well if provided some protection from rainstorms. Garden supply houses sell special plastic coverings that can be held off the plants with wire hoops.
Most of us have small yards that don’t provide a lot of choice of growing areas. If you do have some extra space to grow things in, the winter garden should be located in the area that is sunniest in winter. This may not be the sunniest area in June, when the sun is high in the sky. A light-colored wall facing South may overheat plants in summer but provide needed warmth in the winter months.
How To
Start seeds in a sunny window . There aren’t a lot of vegetable starters this time of year, so you will probably have to start your own. But it’s summer, so there’s a lot of light and warm air, and you don’t need a complex setup. Seed can be purchased from Plowshares and Encinal nurseries or from some of the many excellent seed companies online . The seed package will state whether you need to start your seeds inside. If you do, get a seed starting tray (sold at nurseries and online) and some potting soil. Starting seed indoors means that you can get your starters growing while a prior crop is at its peak, and replace the preceding crop with your new starters when it ceases to produce.
Fluff and amend your soil . Remove weeds and debris from the prior crop. Fluff up the soil and add compost, the rest of the bag of potting soil, worm castings and organic fertilizer per the directions on the bag. Mix it all in well, then smooth out the ground. The more organic matter the better
Tend your seedlings . Keep your seed bed or the potting soil in your seed starting kit moist, not soaking wet, and you should see seedlings in a week to 10 days. Once they emerge, they need to be in bright sunlight and have consistent moisture. If the stems start to elongate, that is a sign the seedlings aren’t getting enough light. Starters go in the ground when they are 3-4 inches tall.
Plant your starters. Birds (such as California towhees, the worst offenders) love tender little seedlings, so put a chicken wire or hardware cloth cover over them, bent into a dome shape and kept in place with sticks. Keep your starters moist. Plastic ground covers are not a good idea—slugs hide under them.
With TLC and a little luck, your winter crop should be ready to grace your table in time for the holidays.
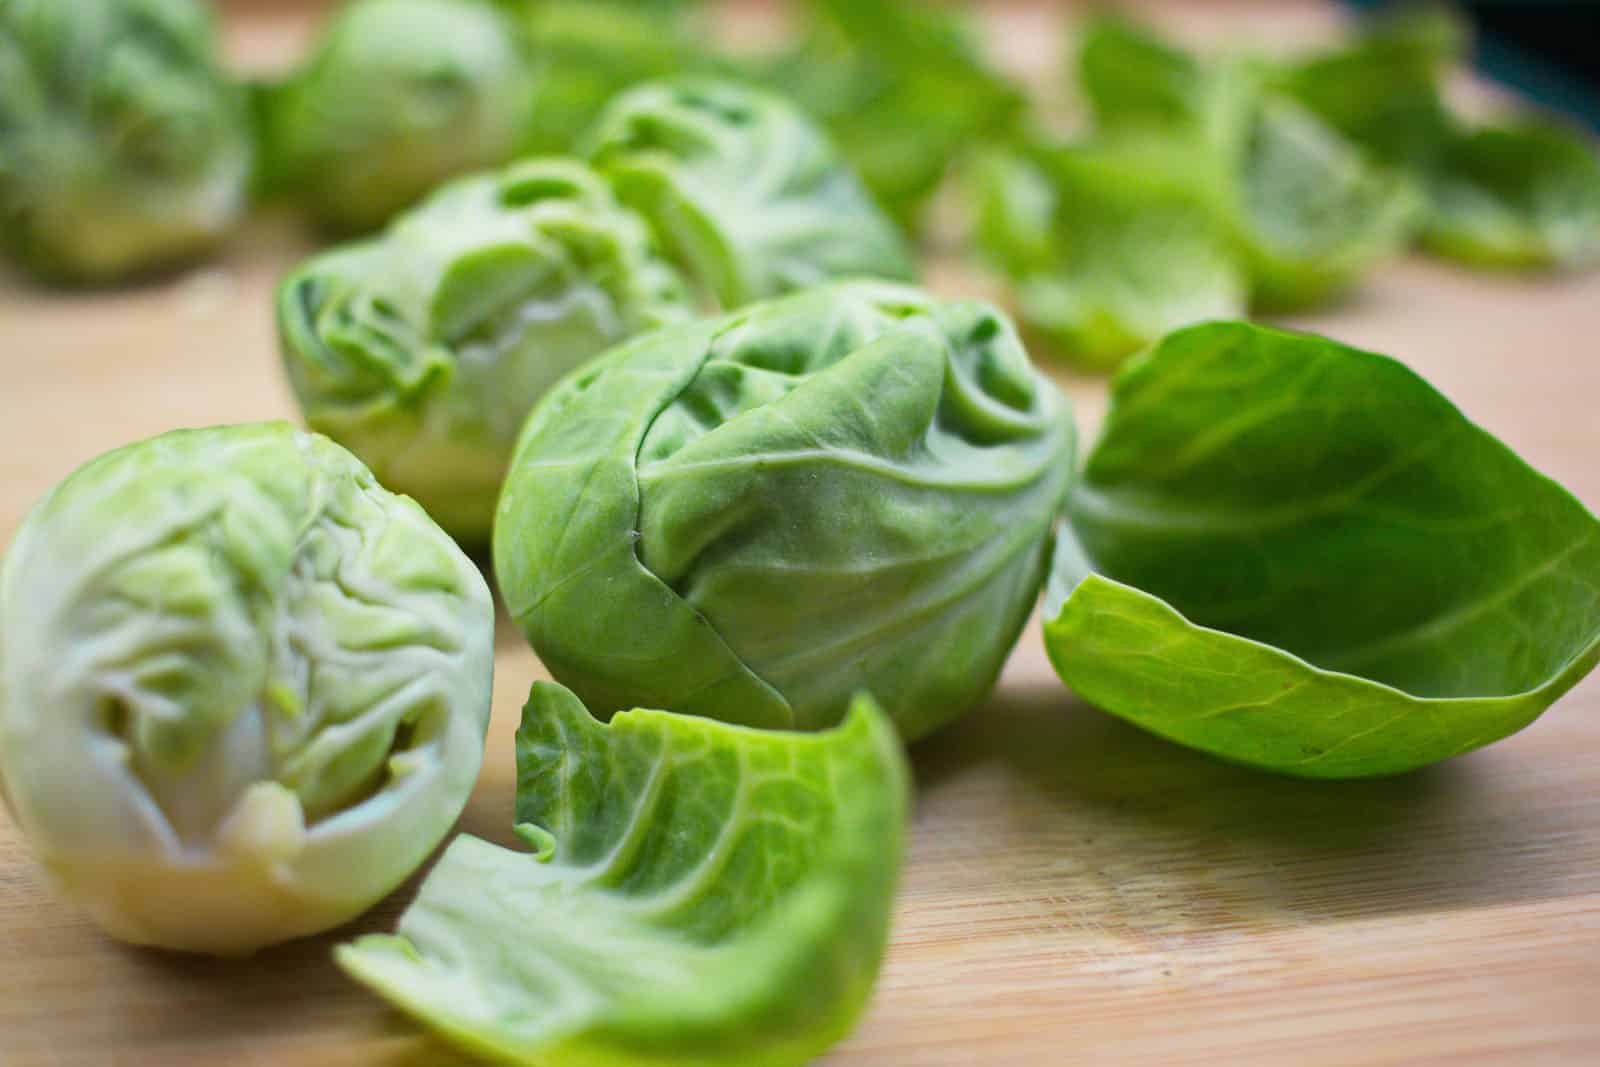
Cooking Brussels sprouts
Brussels sprouts have a bad reputation from cooks who don’t know how to do it, but these sprouts actually are delicious when properly prepared. Here’s how:
Cut off the stem end and cut the sprout in half.
Steam (do NOT boil) for 7-9 minutes, just until a fork will almost go through. When in doubt, undercook.
Oil a cast iron skillet or heavy baking pan with good olive oil, and then put the Brussels sprouts in a single layer, cut-side down. Season with pepper, spray with cooking spray.
Bake in a 400-degree oven for a half-hour to 40 minutes.
When the bottoms are light brown, grate Parmesan or Romano cheese over the tops and place under the broiler for five minutes.
Enjoy!
Margie Siegal is a long term gardener in Alameda and a supporter of Alameda Backyard Growers. Reach her via editor@alamedpost.com .
Get updates delivered to you daily. Free and customizable.
It’s essential to note our commitment to transparency:
Our Terms of Use acknowledge that our services may not always be error-free, and our Community Standards emphasize our discretion in enforcing policies. As a platform hosting over 100,000 pieces of content published daily, we cannot pre-vet content, but we strive to foster a dynamic environment for free expression and robust discourse through safety guardrails of human and AI moderation.
 Local Alameda, CA
 Most Popular
Comments / 0